A Look Into My Cookie Design Process
Welcome back to The Nest! If you’re new here, hello! I’m Stephanie, the Cottage Food Operator behind Little Owls Bakery. Last month, I shared a bit about my journey as an at-home baker and how my business got started. Today, I’m excited to take you behind the scenes and give you a closer look at how I design my cookies!
When people see a completed set of cookies, with their clean lines of icing, coordinated color scheme, and thoughtful, tiny details, it’s easy to assume the process was quick and effortless. However, in reality, this process took hours of planning, sketching, and baking – all before I even pick up an icing bag!
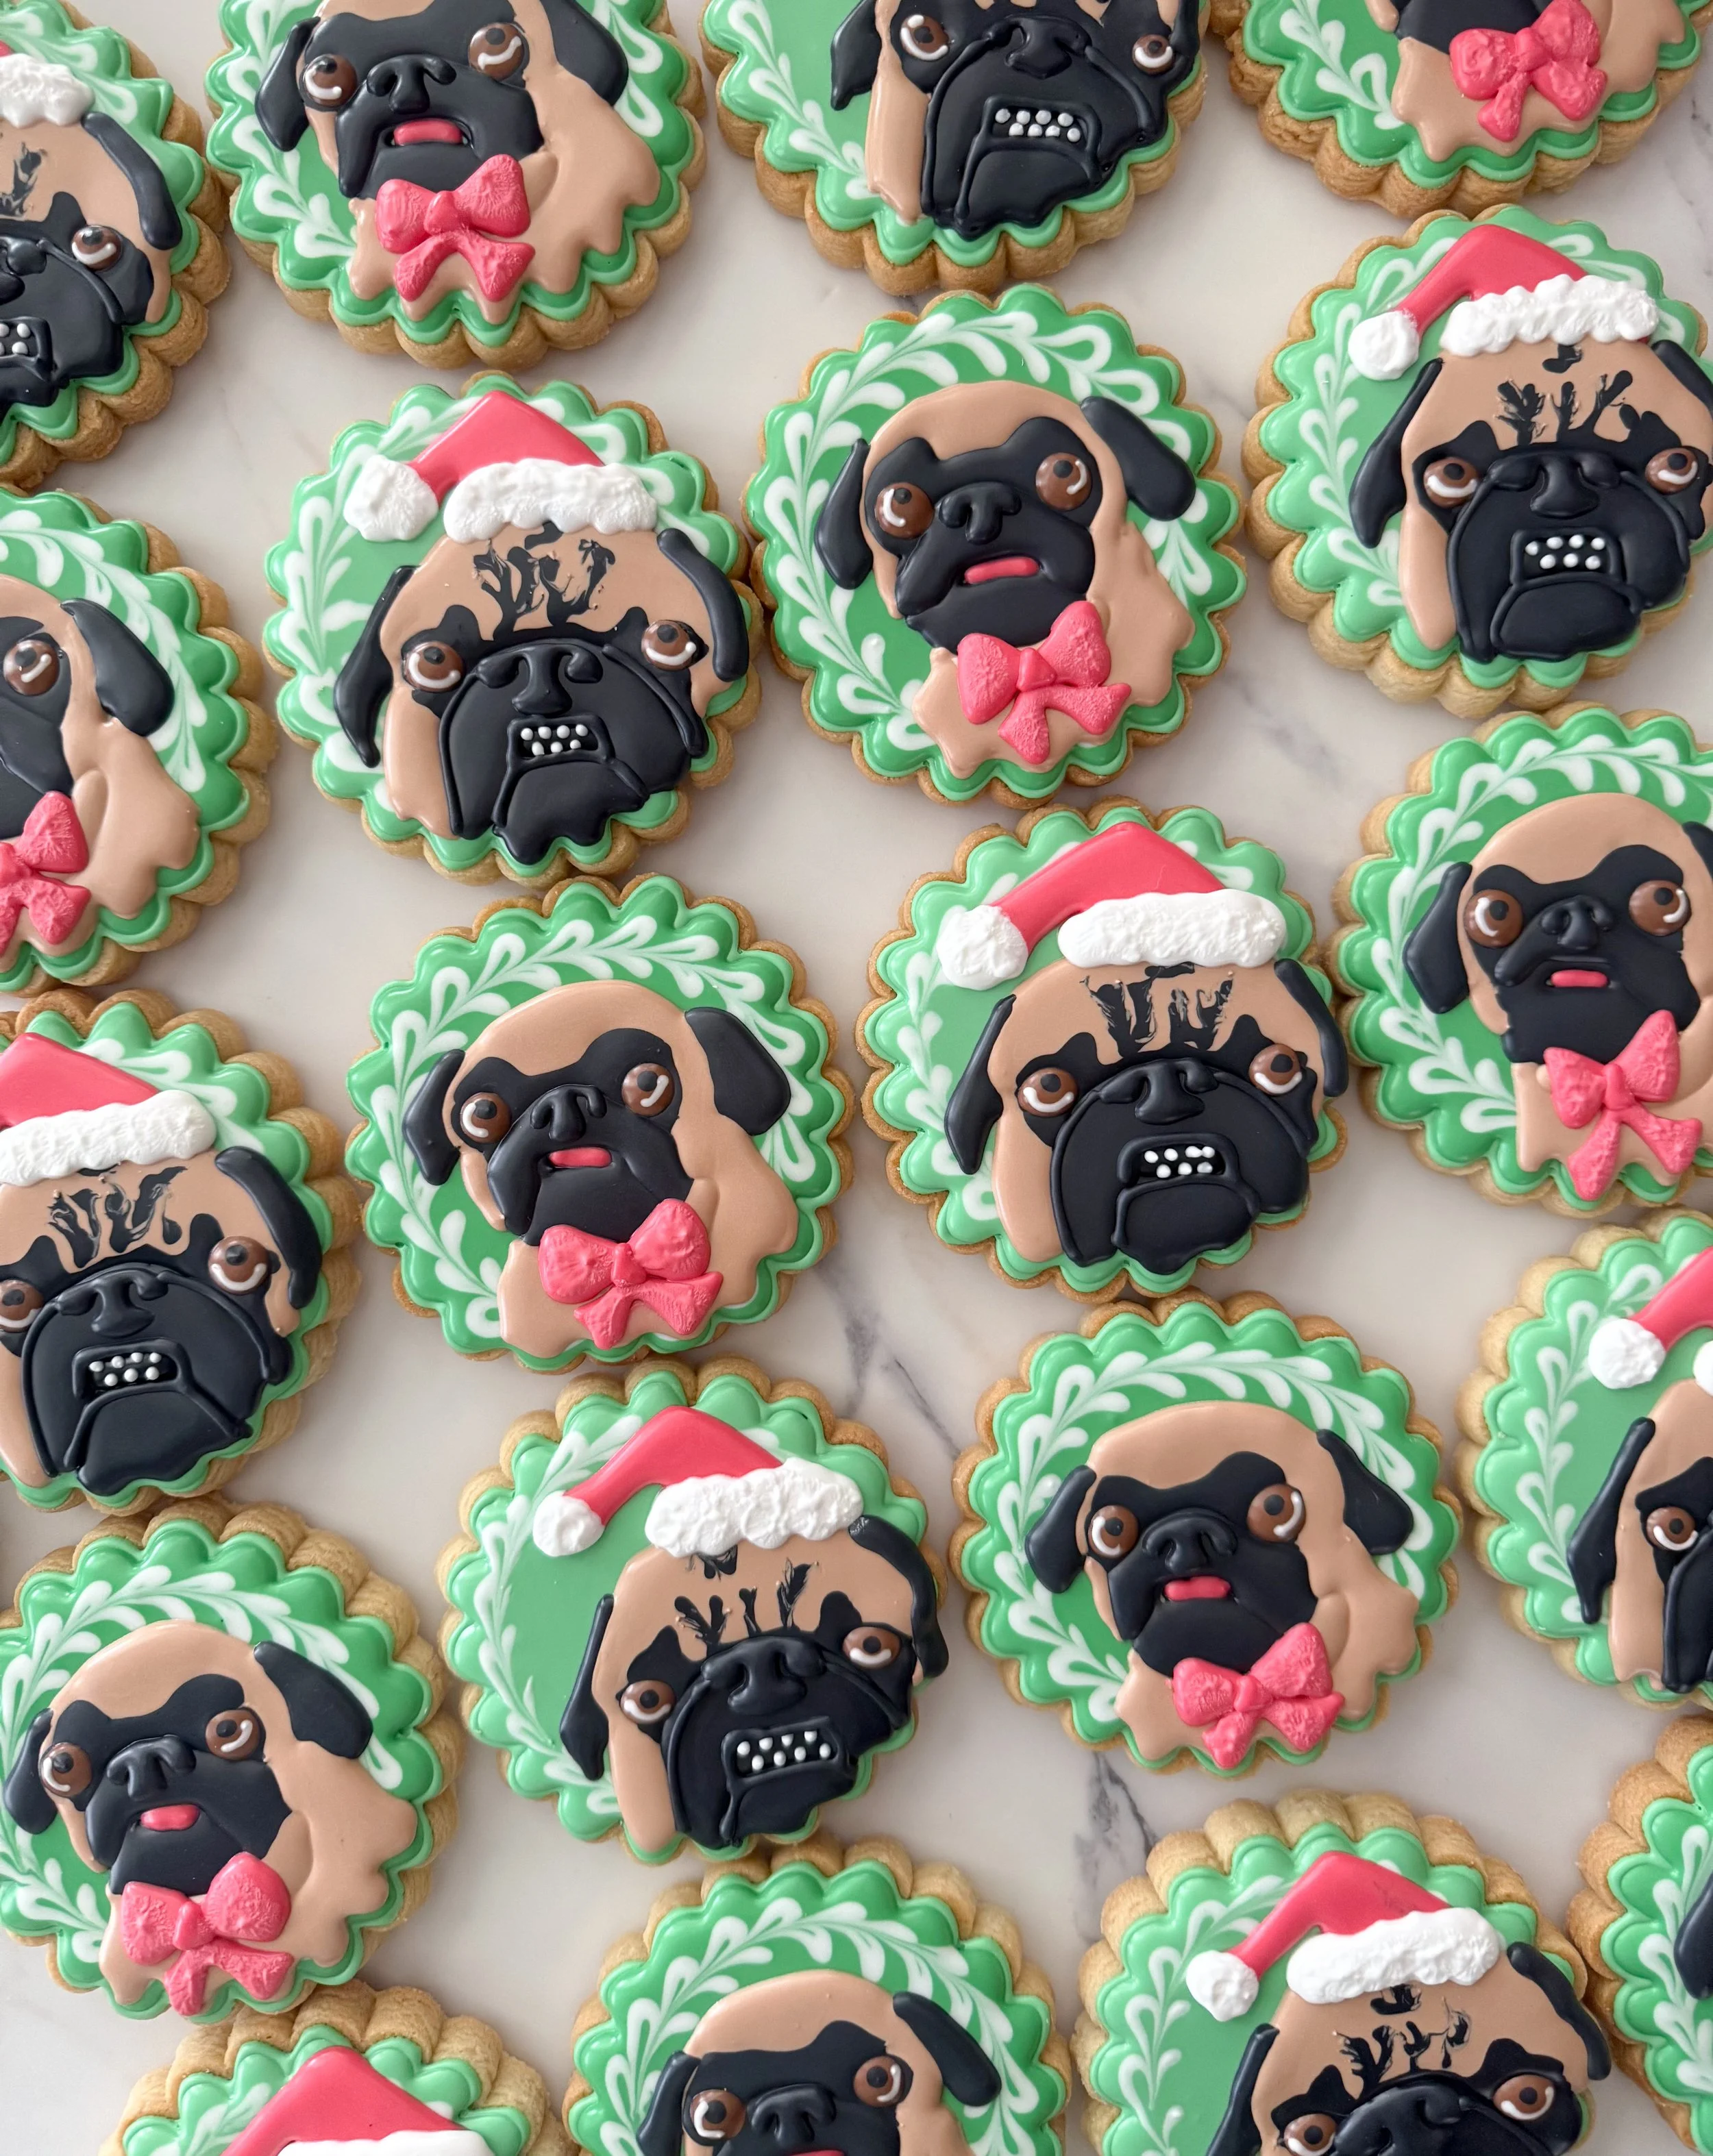
Whenever I receive a new order my first step is making sure I understand the theme. And so, each custom order begins with a conversation. Whether a customer wants a whimsical woodland fairy birthday set, a classic baby shower, or something incredibly specific something as fun as your pug wearing a Santa hat (which you can see to the right) I always start by gathering all the information I can. I make sure to ask my customers about their desired color schemes, inspiration photos, and party decorations. While chatting I make sure to take thorough notes, which will definitely come in handy later on!
Next, I sit down, take out my iPad and stylus and, with the customers list of inspiration and specifications, draw whatever comes to mind. These sketches are typically initial ideas, outlines, and scribbled notes, but they help me gather my thoughts and begin bringing your vision to life.
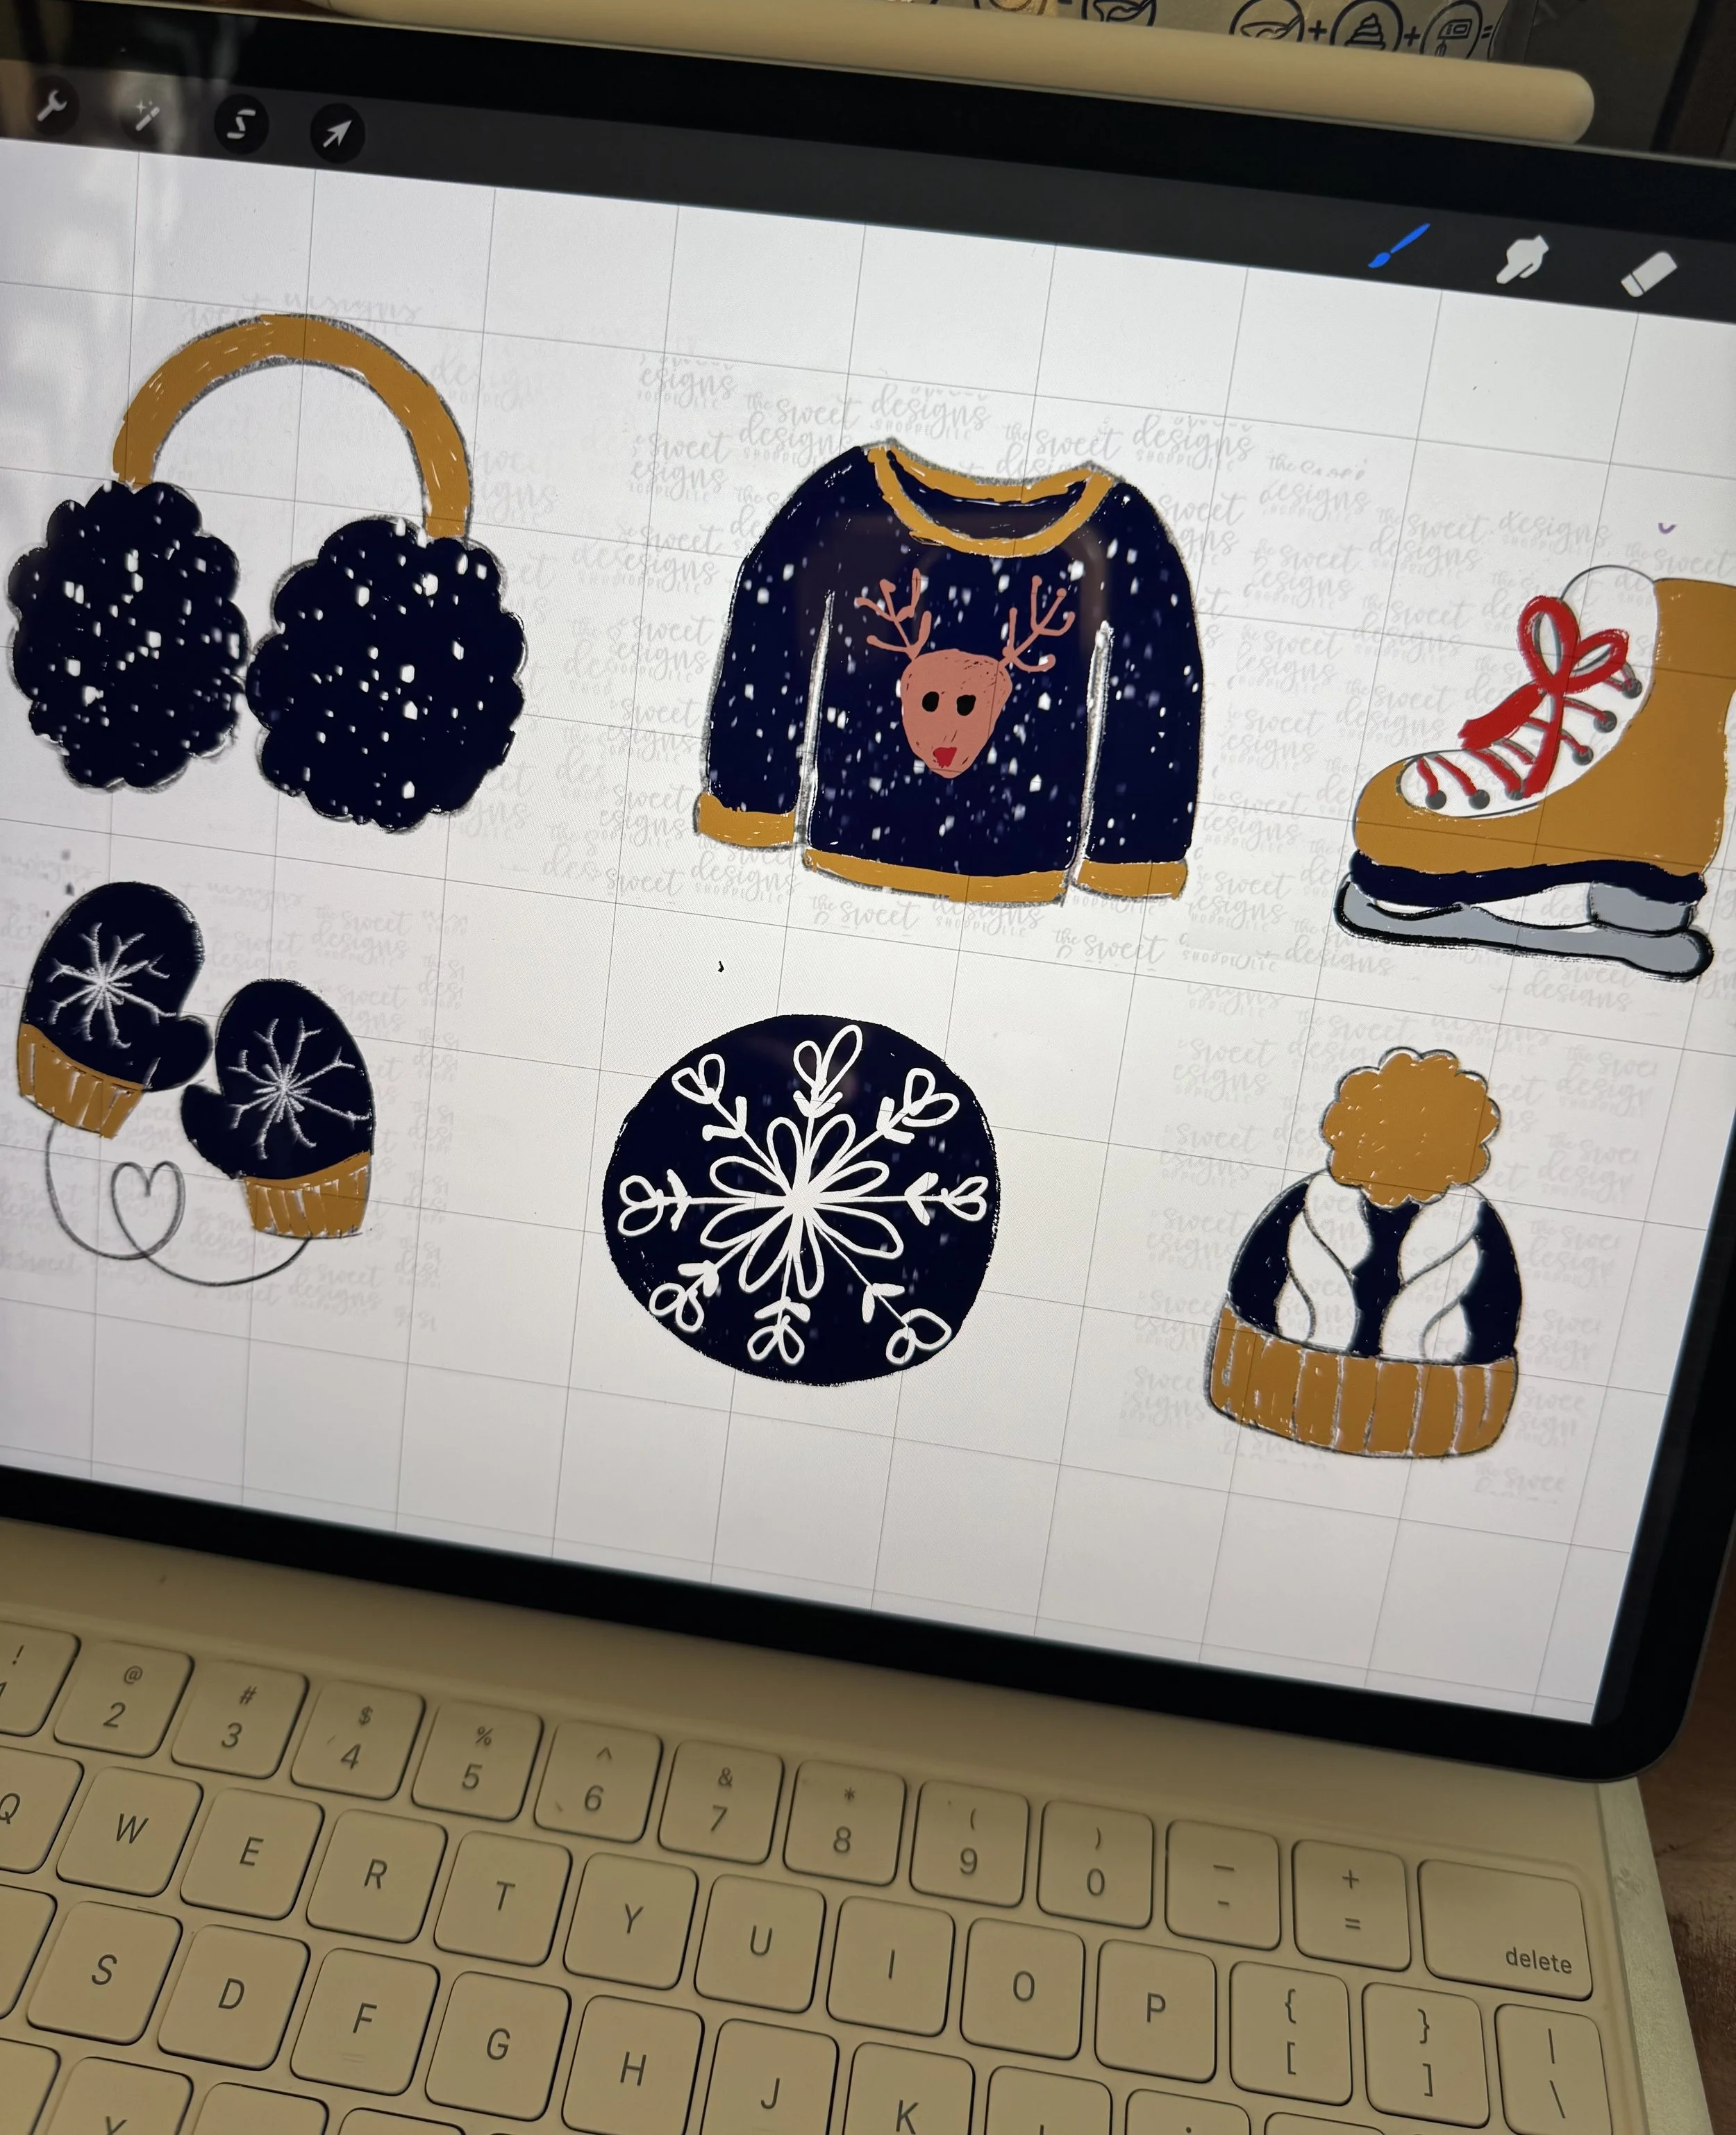
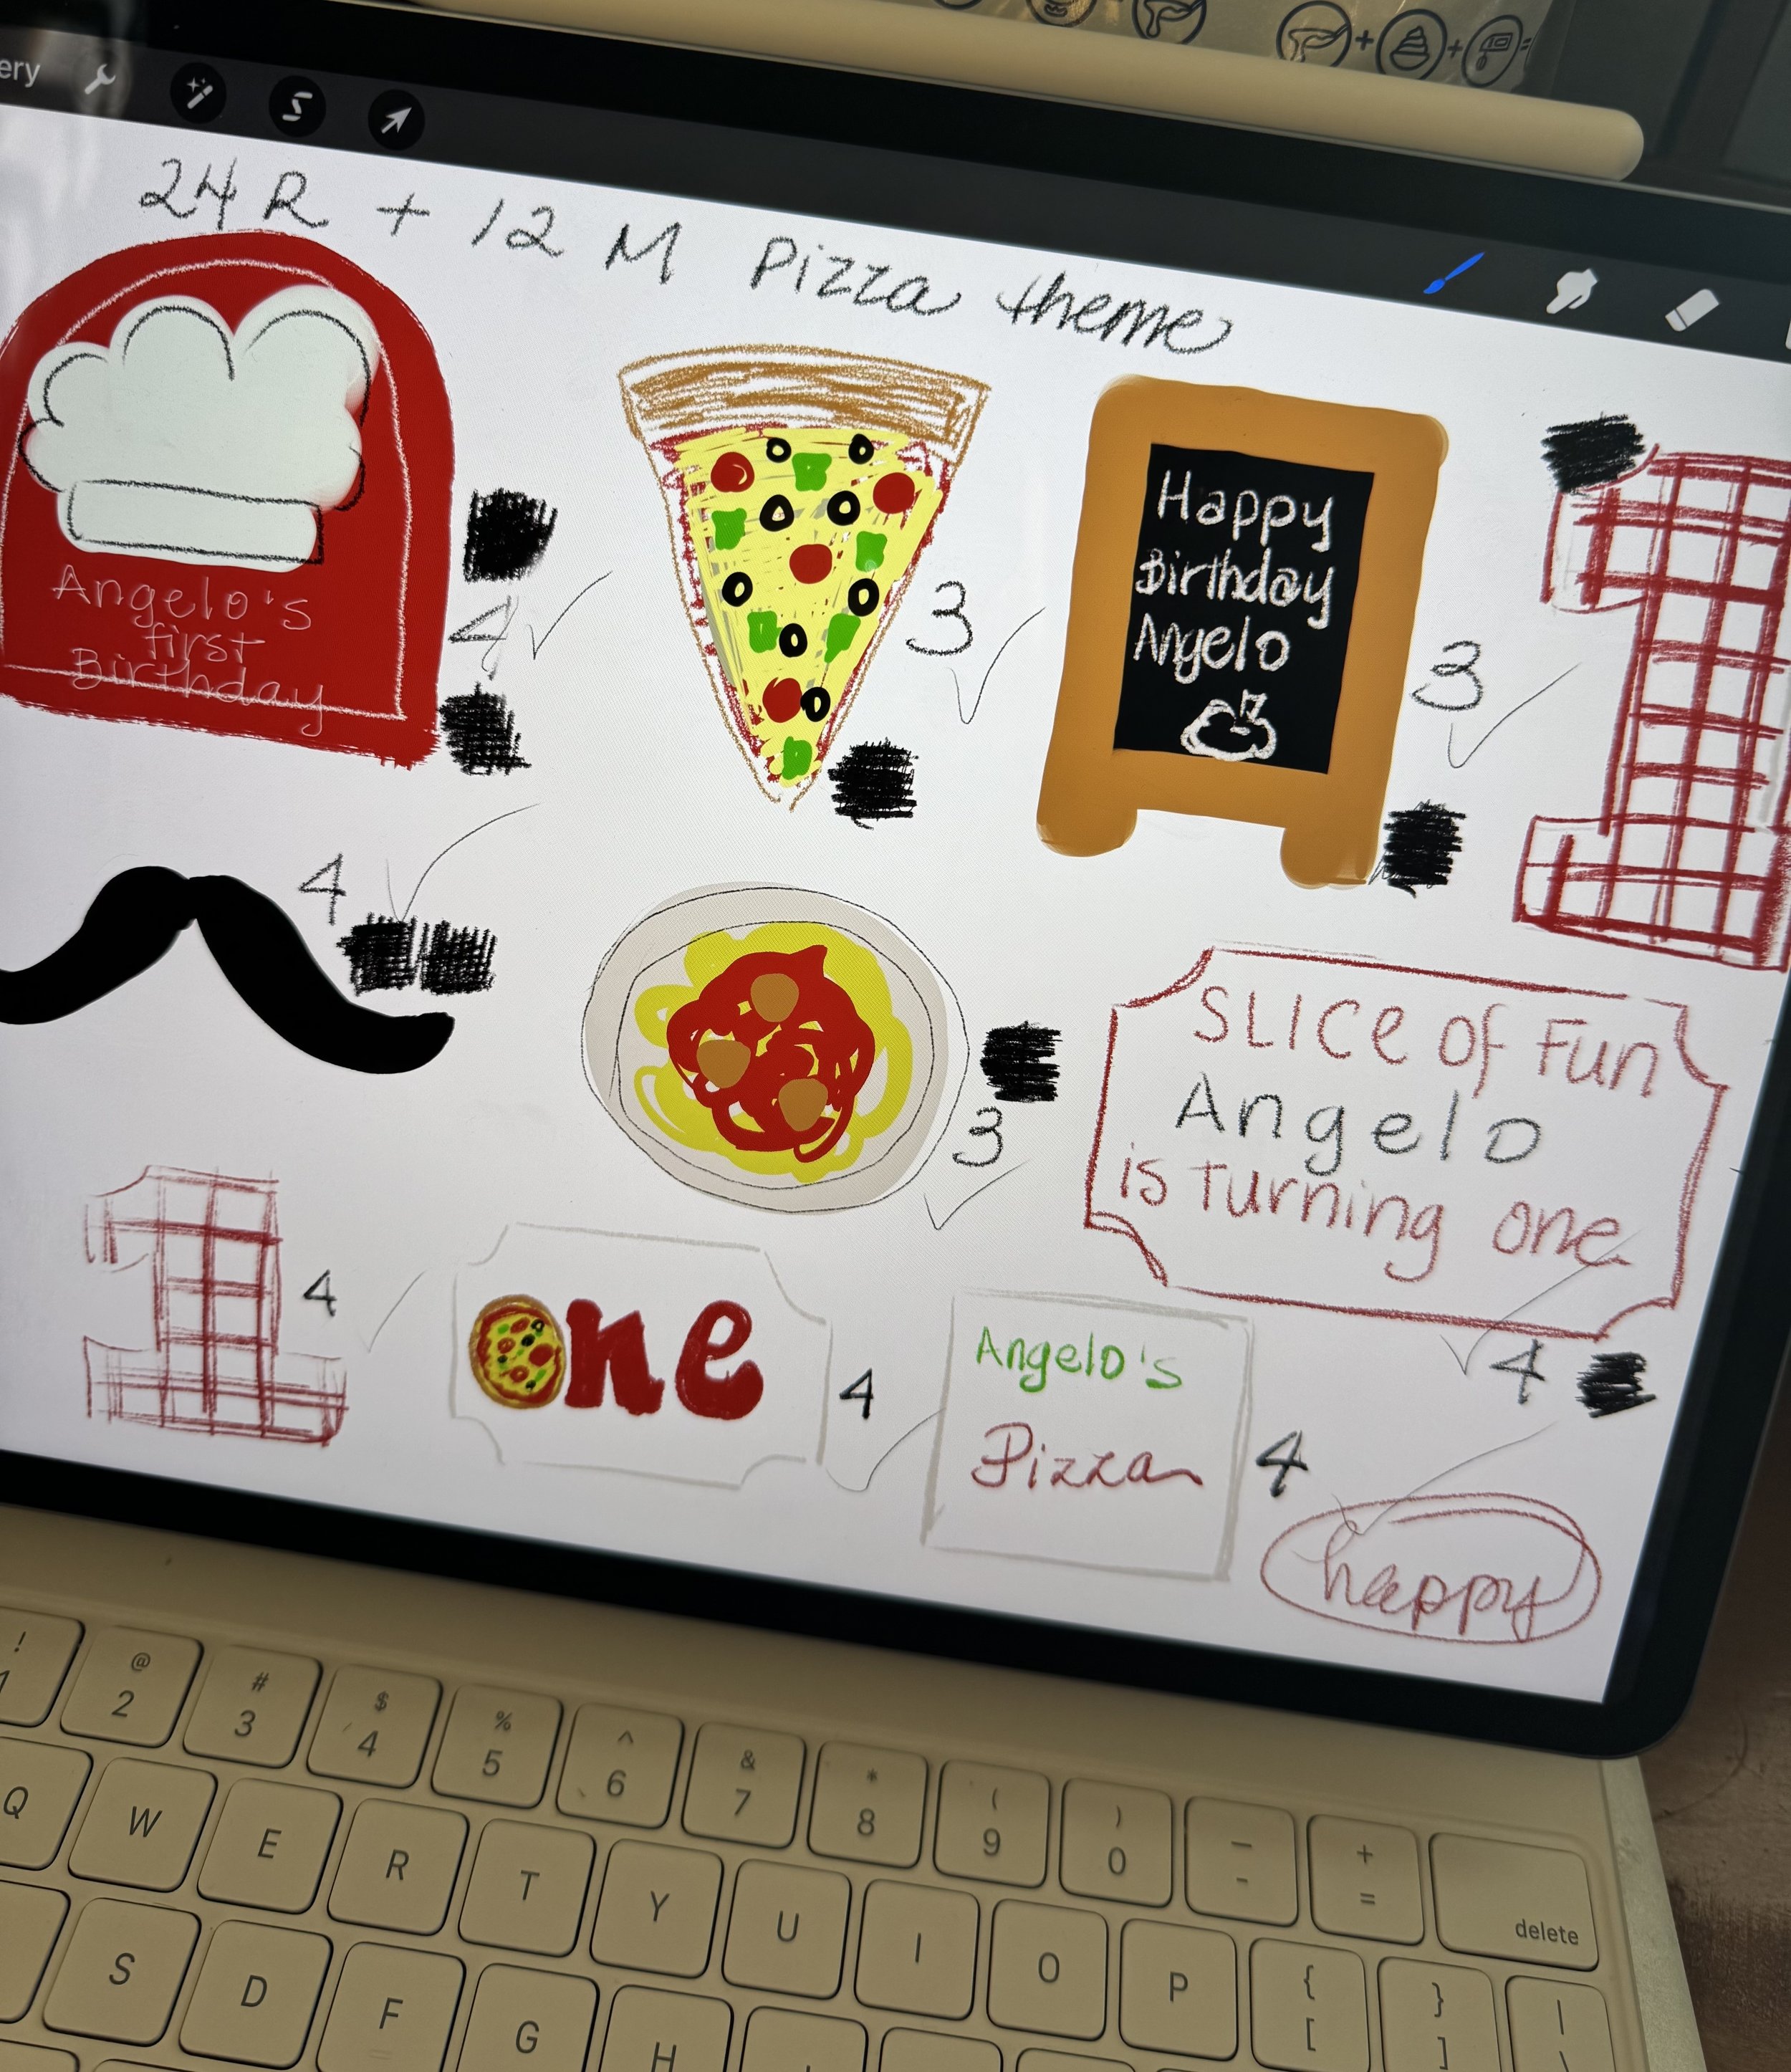
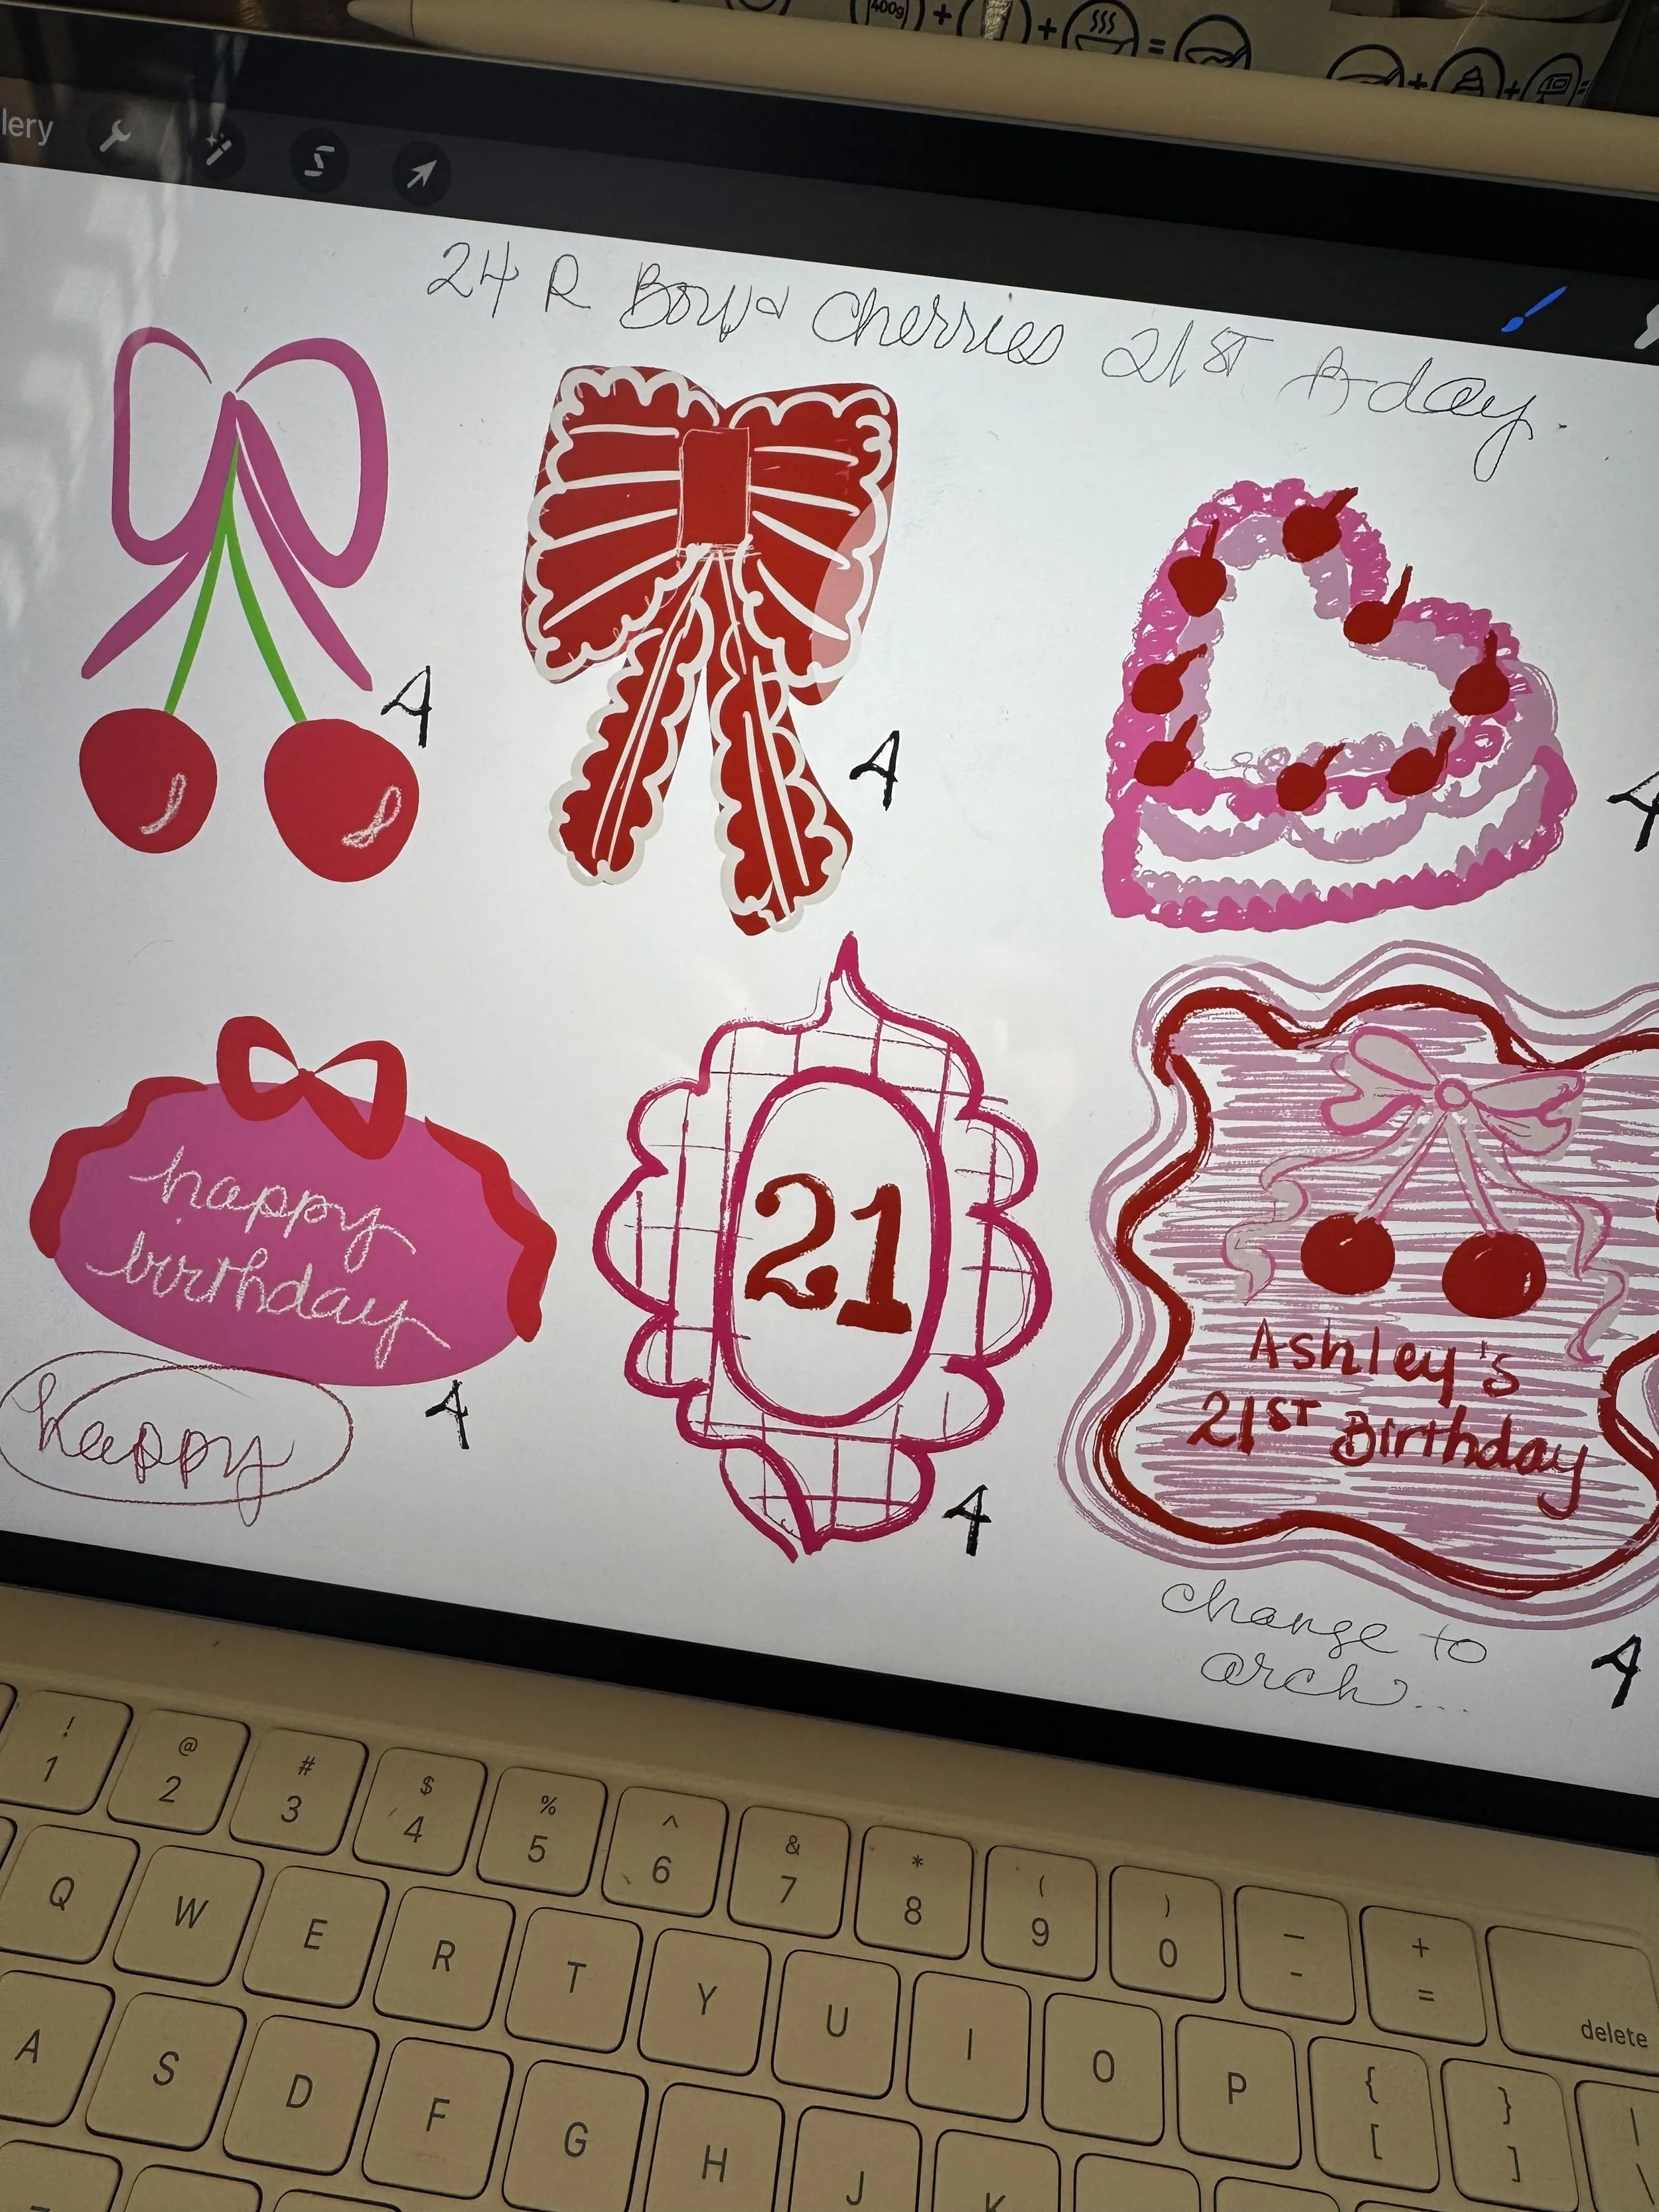
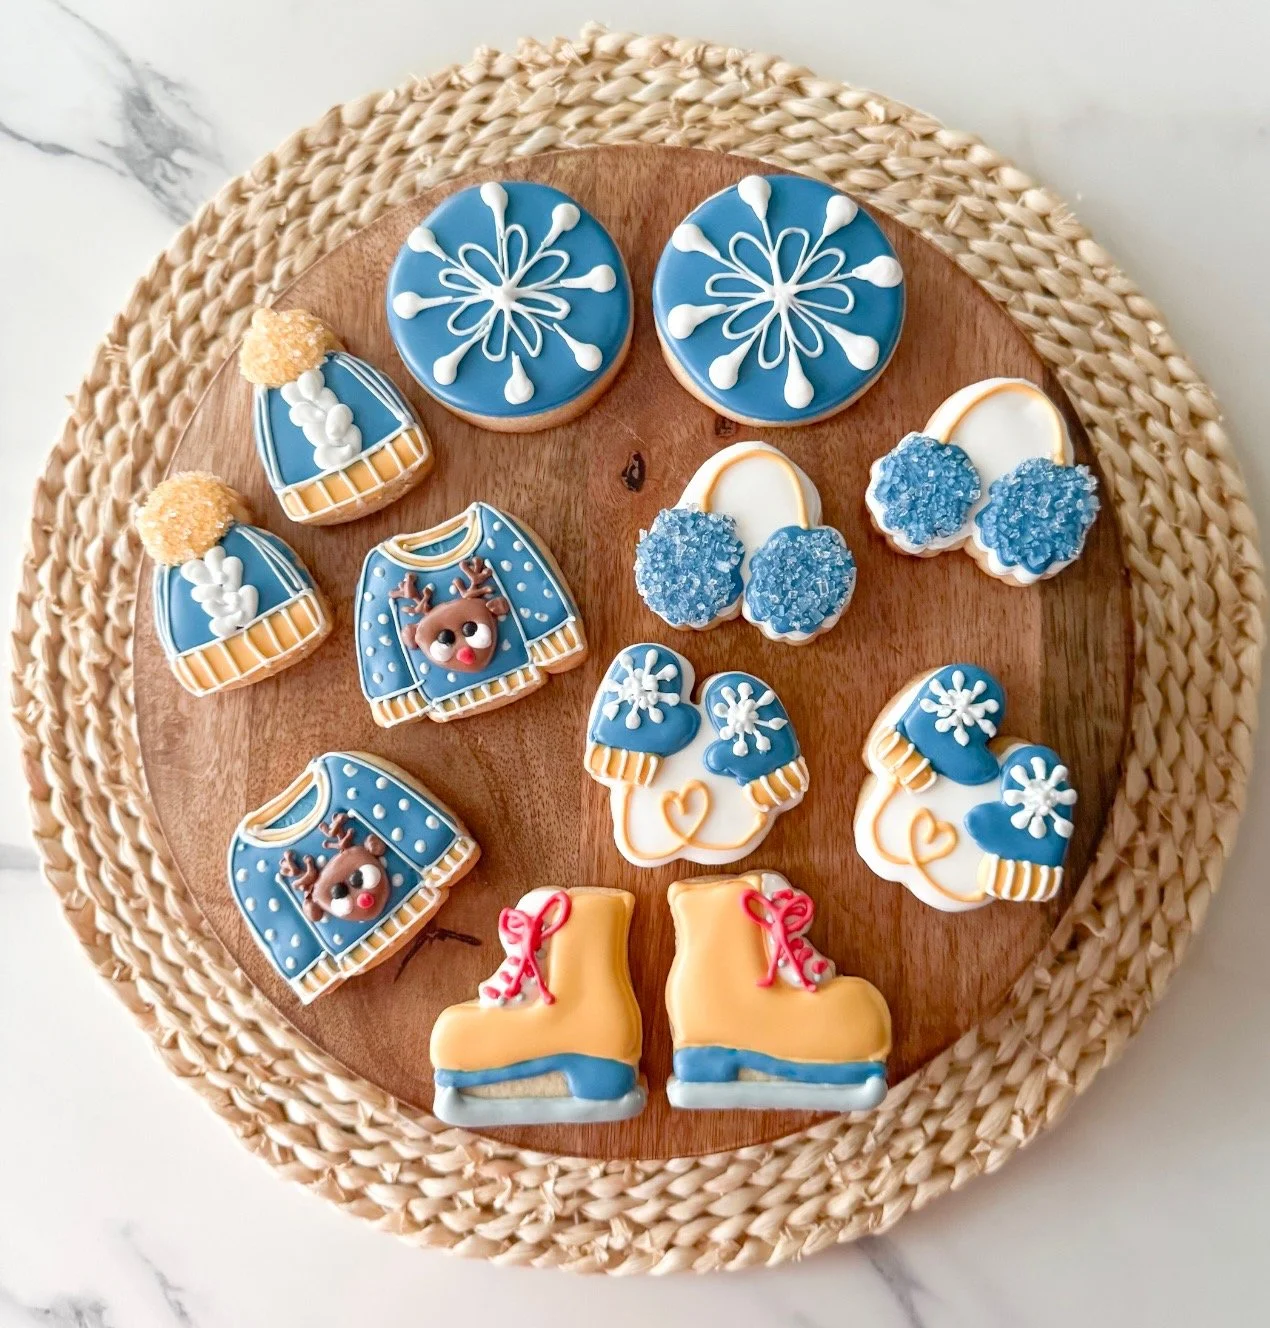
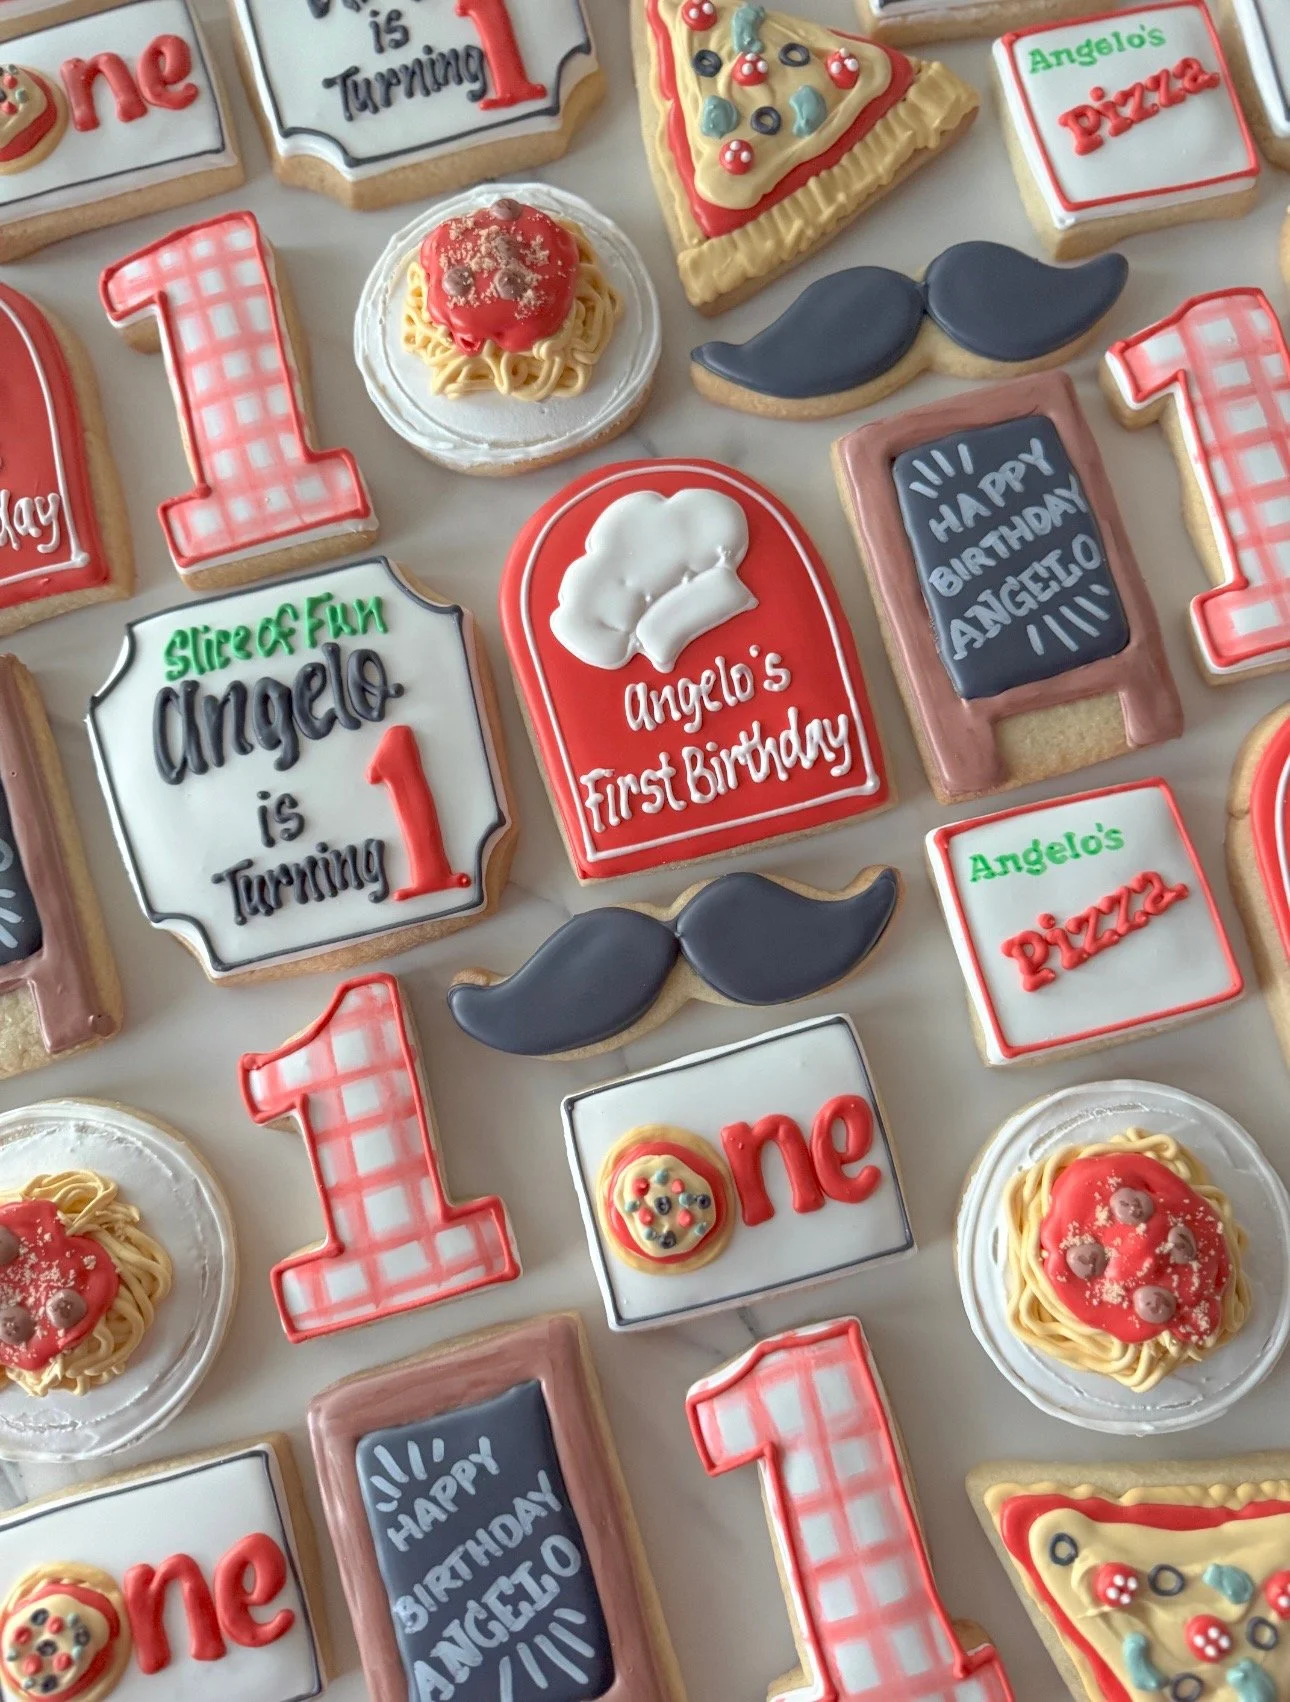
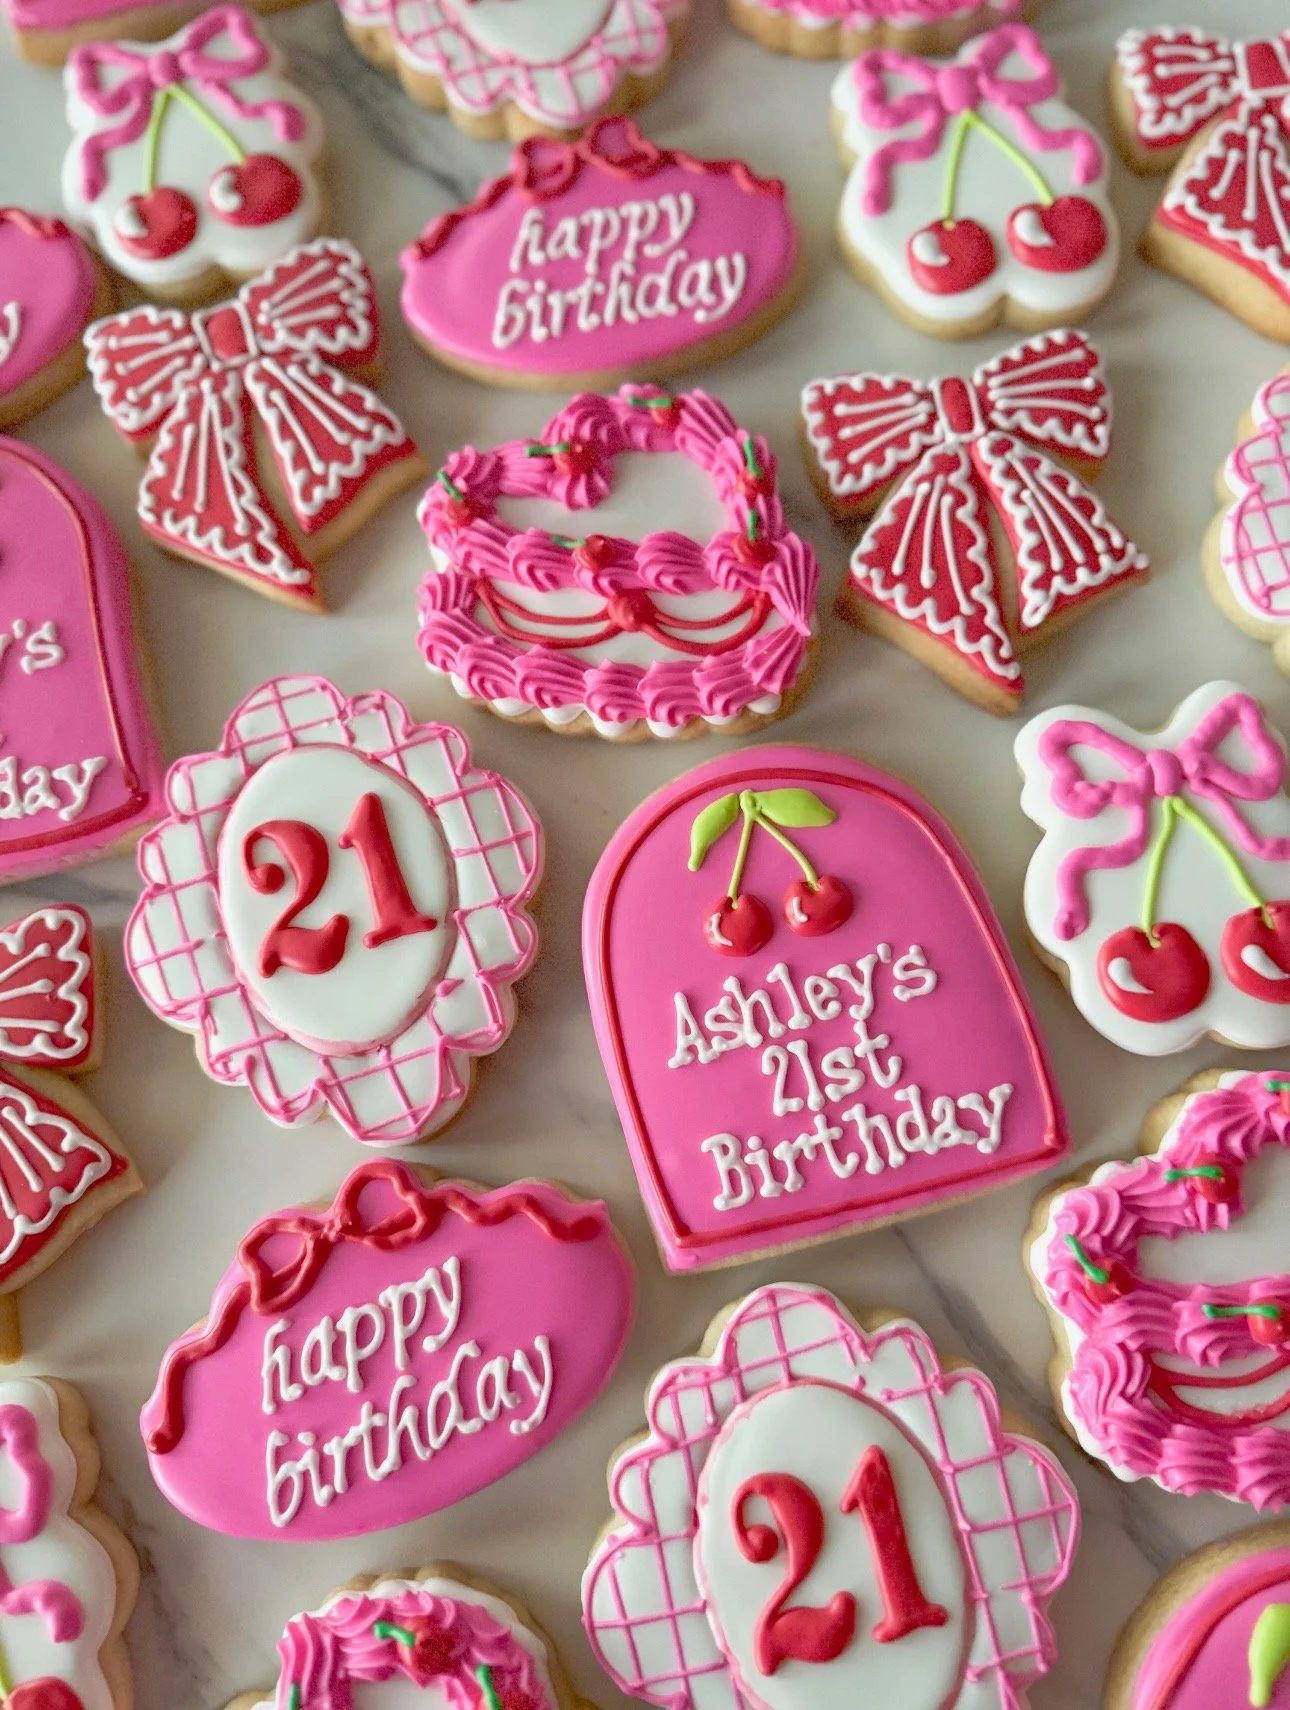
Using my initial sketches, I then figure out which cookie cutter shapes I’ll be using, how many designs I’ll need, and how cohesive all of the designs look together as a set.
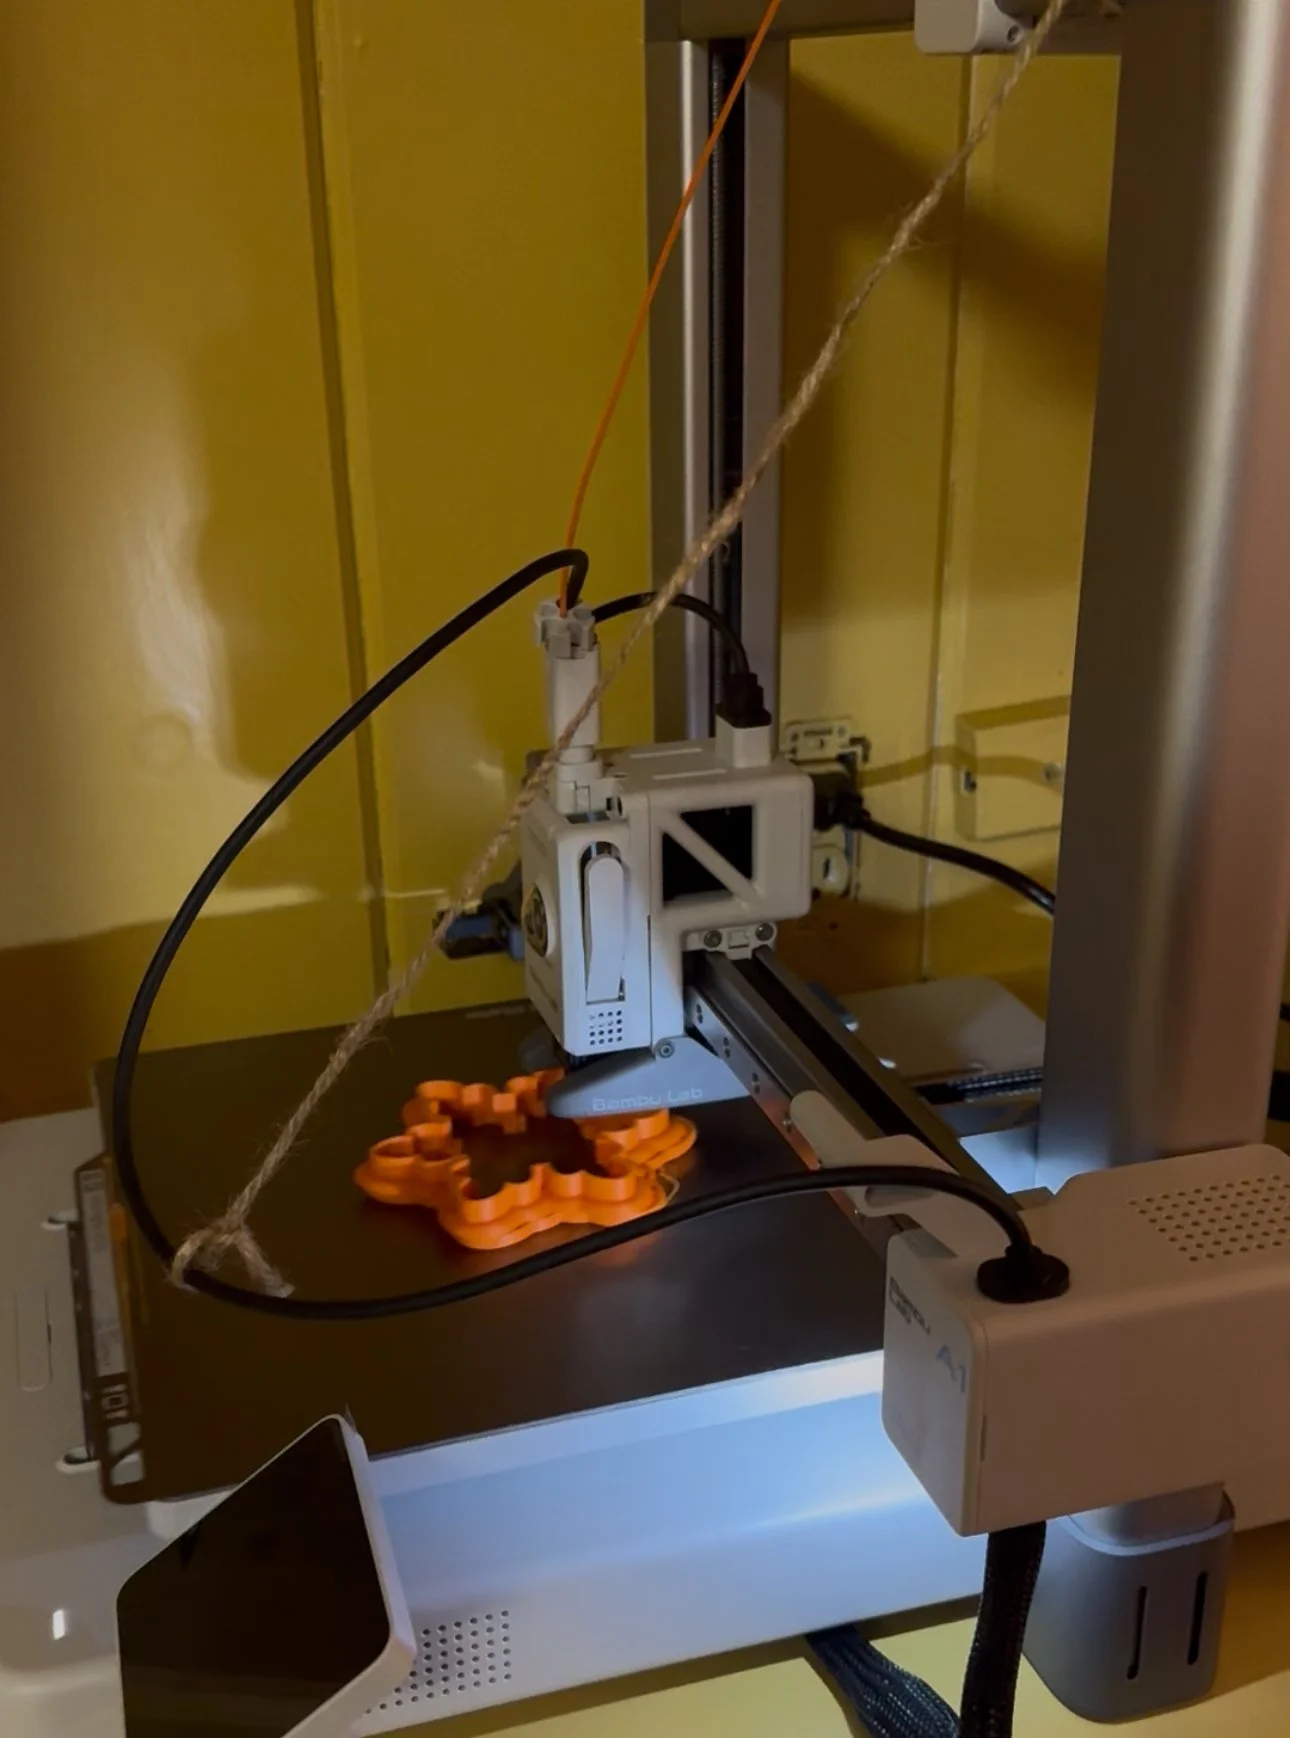
When deciding on the shape of each cookie, I first sort through my (many!) boxes of existing cookie cutters. Sometimes I pull from this existing collection, however other times, the design calls for something totally new, and that’s when I fire up my 3D printer!
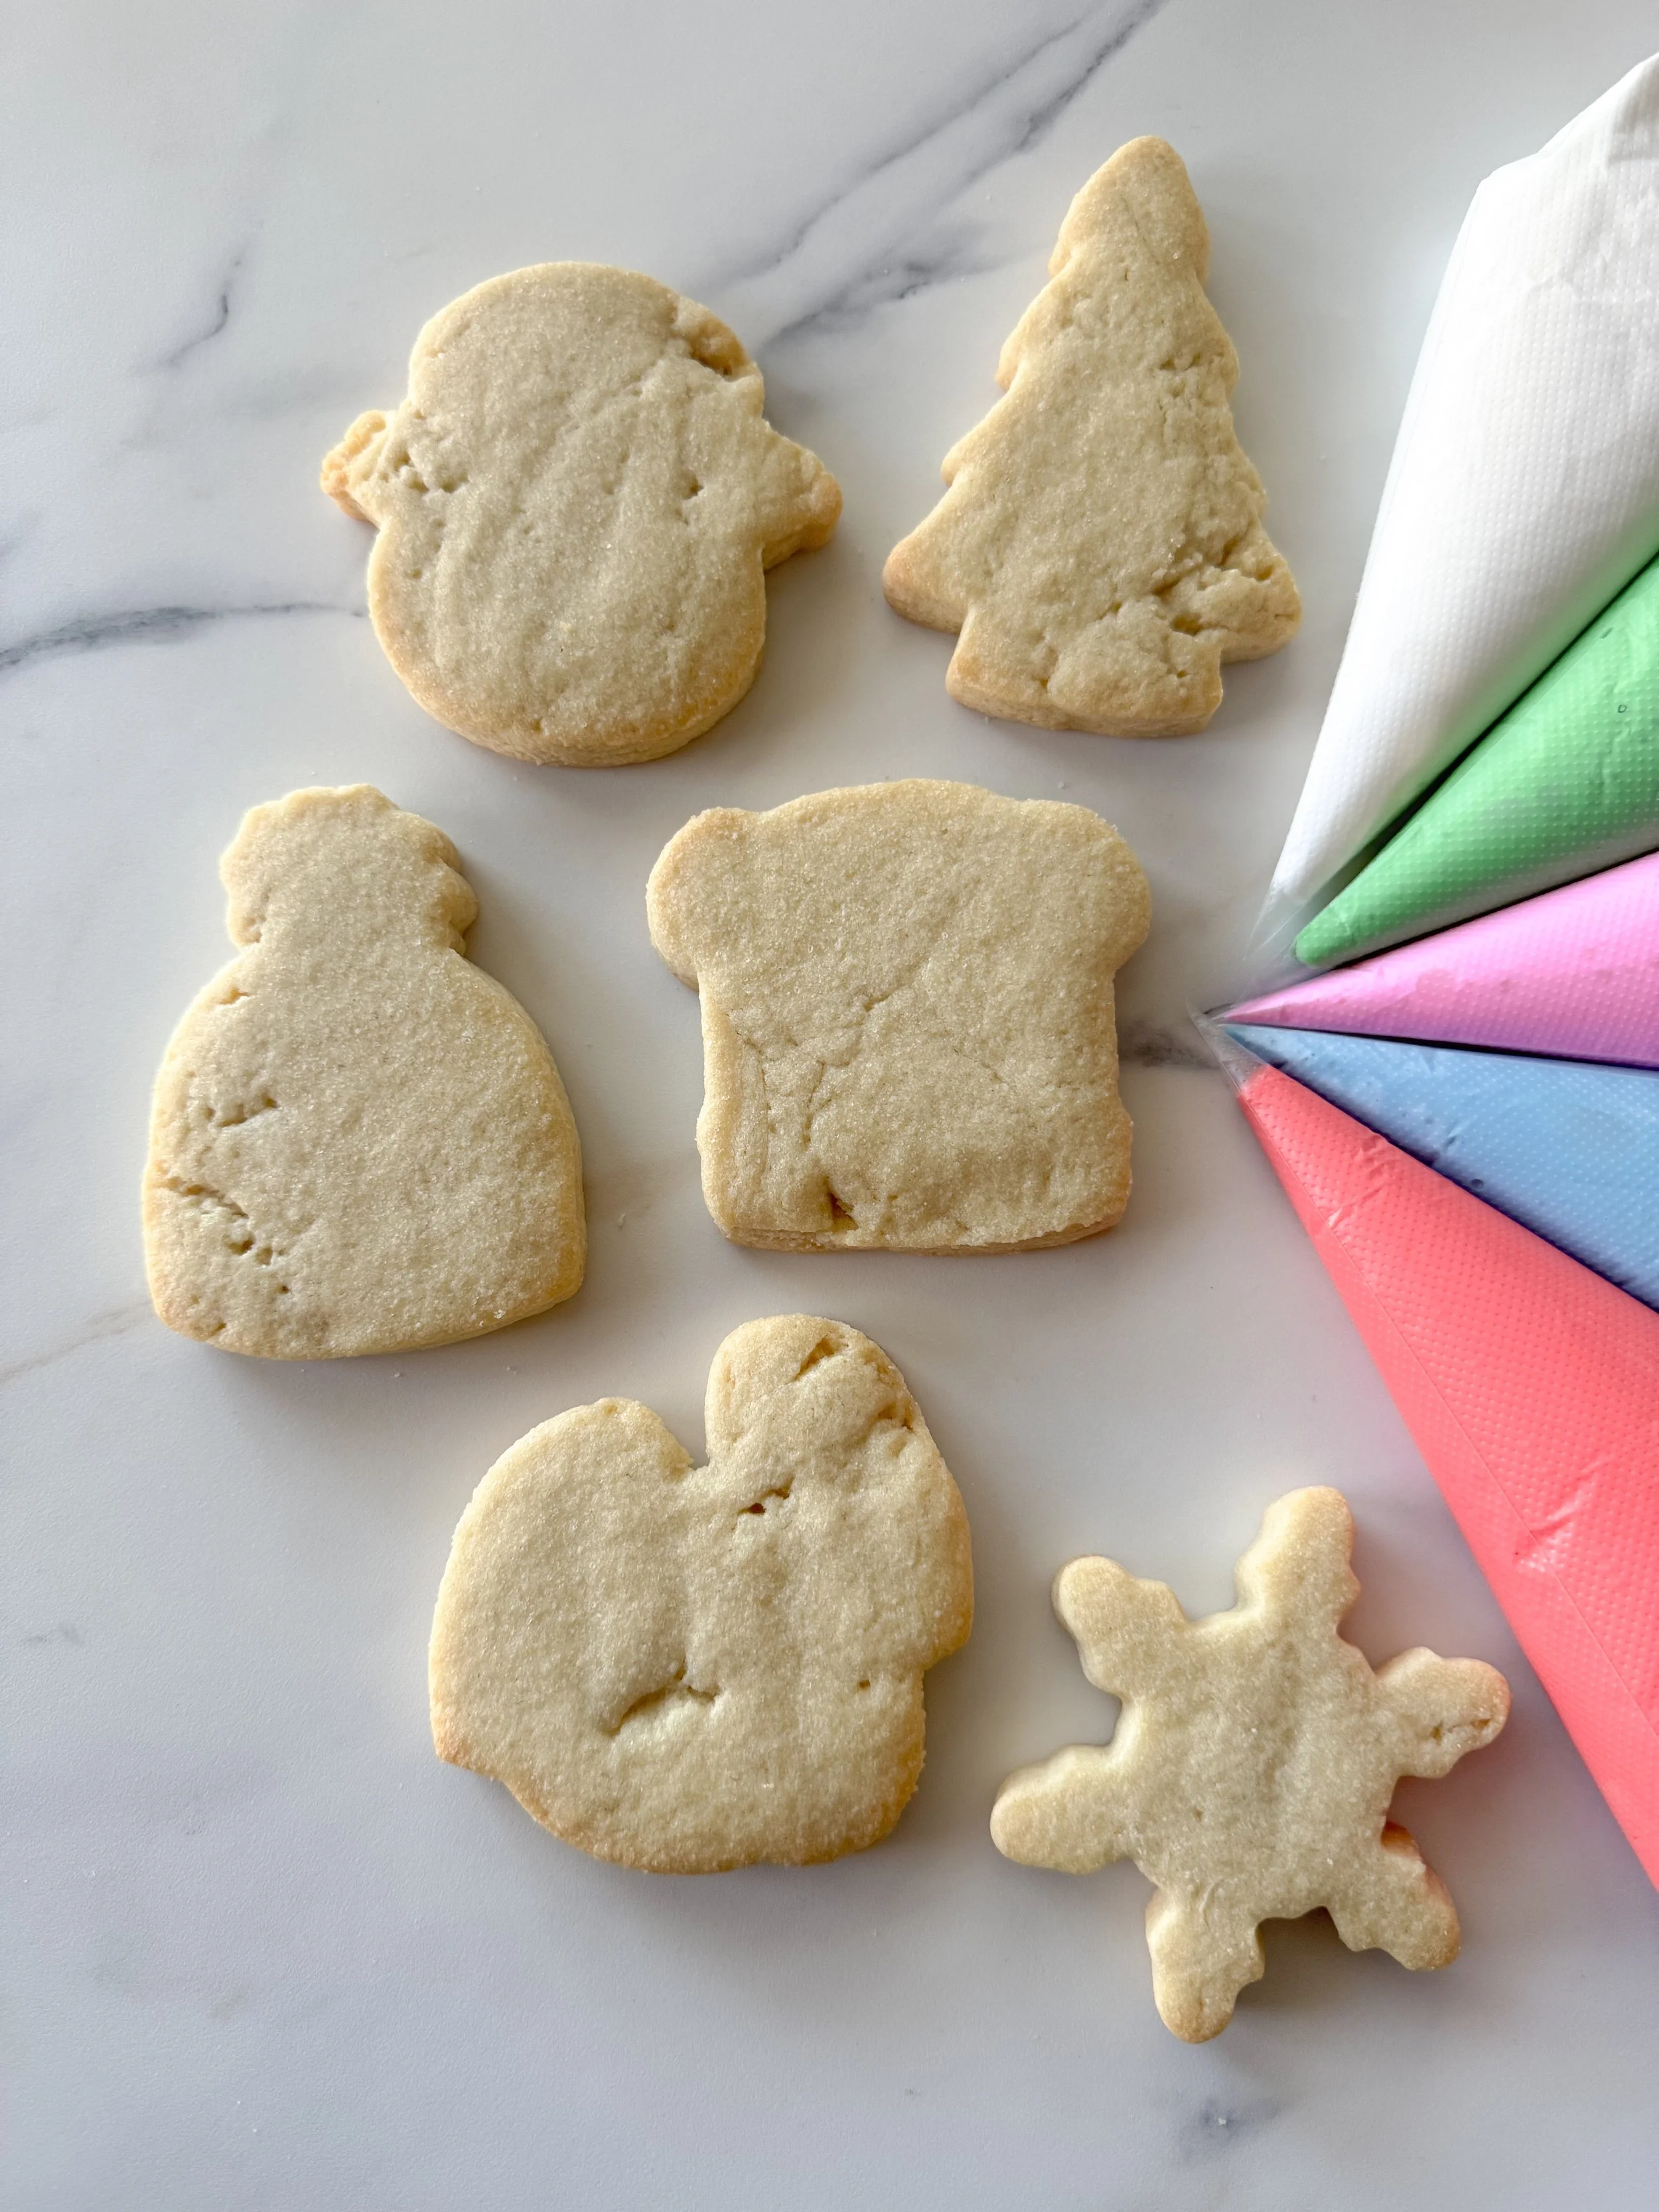
Once my designs are all planned out and the cookie cutters are chosen (or created!) It’s finally time to begin decorating. And so, I prepare my icing bags and get to work!
Every set of cookies tells a unique story, and this process, sketching, creating, and adjusting, is where the magic happens.
Until next time, keep baking!
Stephanie Barnes
Before you go…
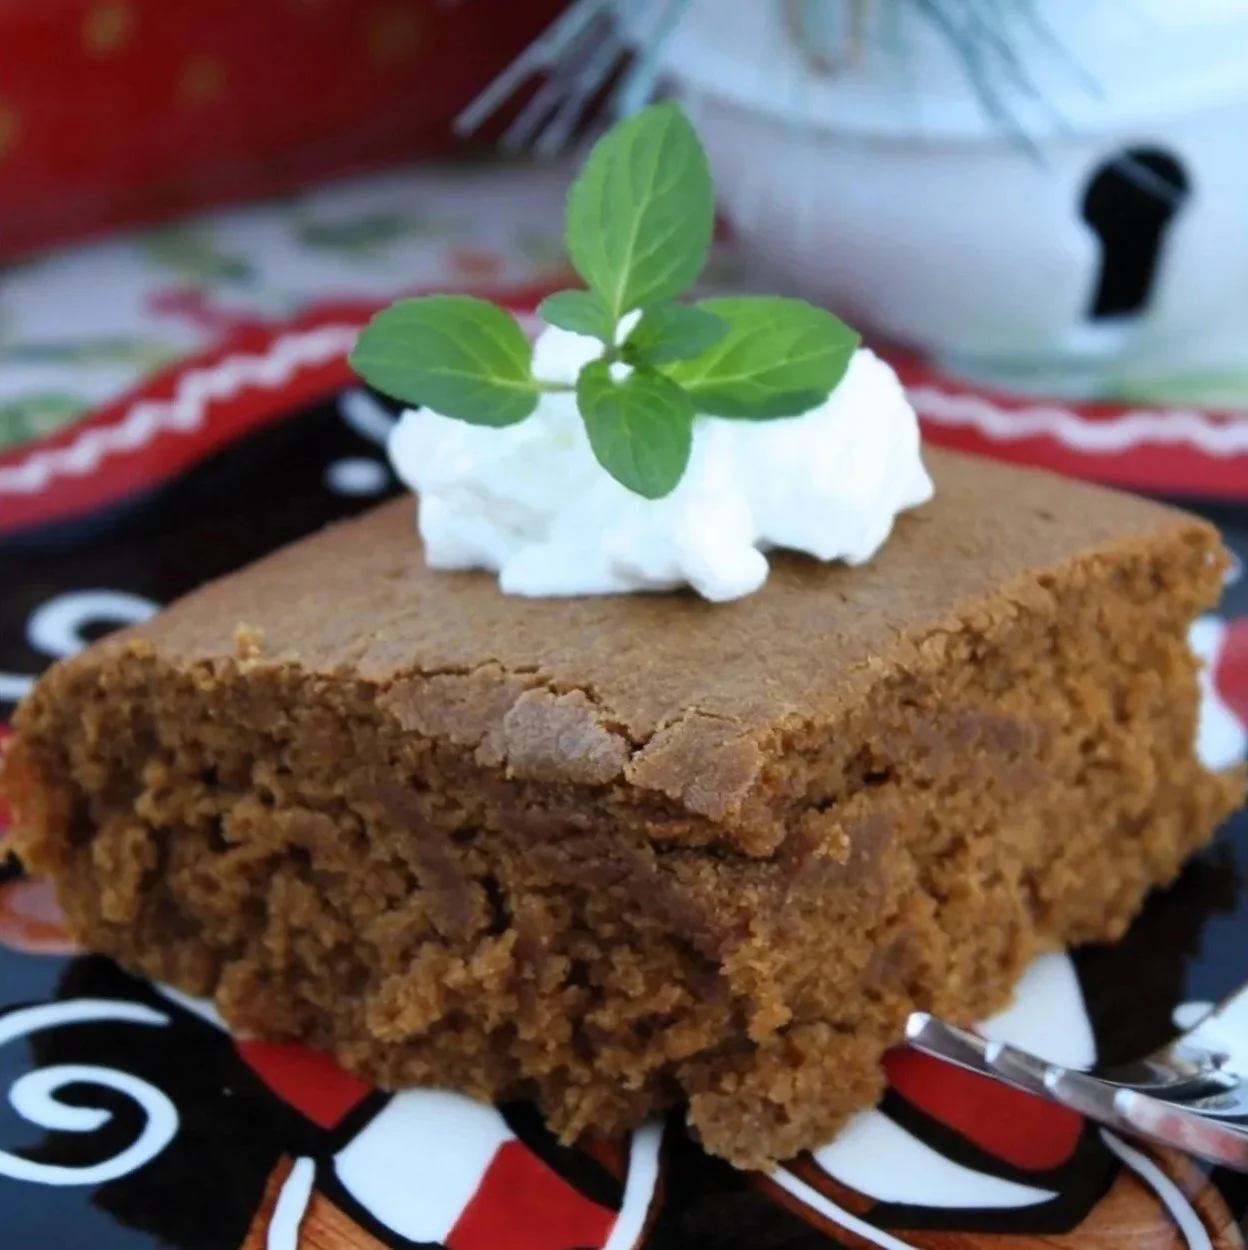
Laura Ingalls Wilder’s Gingerbread. Photo credit: Mommy’s Kitchen & Homestead,.
In honor of the holiday season, I’m sharing a recipe that my family makes every December, Laura Ingalls Wilder’s Gingerbread! Like many of you I grew up watching Little House on the Prairie, and have fond memories of grabbing an after school snack and planting myself in front of the TV. And so, when my youngest daughter had Historical Persons Day in her Kindergarten class, I was so excited to have her dress up as Laura Ingalls Wilder herself, make this recipe for the first time, and have her bring it in! Since then it’s been a Barnes Family staple. I’ve written the recipe out below – it’s an easy and delicious way to celebrate this holiday season!
Ingredients:
1 cup Brown Sugar
1/2 cup Lard or Shortening
1 cup Molasses
2 teaspoons baking soda
1 cup of boiling water
3 cups of flour
2 eggs
1 teaspoon of: ginger, cinnamon, allspice, nutmeg, cloves
½ teaspoon salt
Directions:
Blend brown sugar with lard (or shortening) and molasses.
Add baking soda to a cup of boiling water (be sure the cup is full of water after the foam has run off) and then add to the brown sugar mixture.
In a separate bowl, add flour, ginger, cinnamon, allspice, nutmeg, cloves, and salt.
Combine dry and wet materials and add well-beaten eggs.
Bake at 355°f for thirty minutes.
Optional step: add raisins, candied fruit, or a chocolate frosting to your gingerbread!
You can find the original recipe, found in a 1953 letter between
Laura Ingalls Wilder and Jennie D. Lindquist, here.